We’re finally here, folks. My favorite part of this blogging gig; the after shots! Although, to be perfectly honest with you all, these are the 95%, “damn it we’re so close it hurts to look at it sometimes” shots. What that means, if you’re wondering is no, no we didn’t make it over the finish line in time for the December holiday – but we came seriously close enough to call it and tried to enjoy our day with everyone else.
I know I’ve left out some key information around how we actually made some of these changes (the floor and the cabinets come to mind here). I’ll try (really hard, I promise!) to cover the specifics in their own how-to posts later in the month. Or maybe I’ll just wait until the 100% “wow – look at all that beautiful crown moulding” shots are in. We shall see.
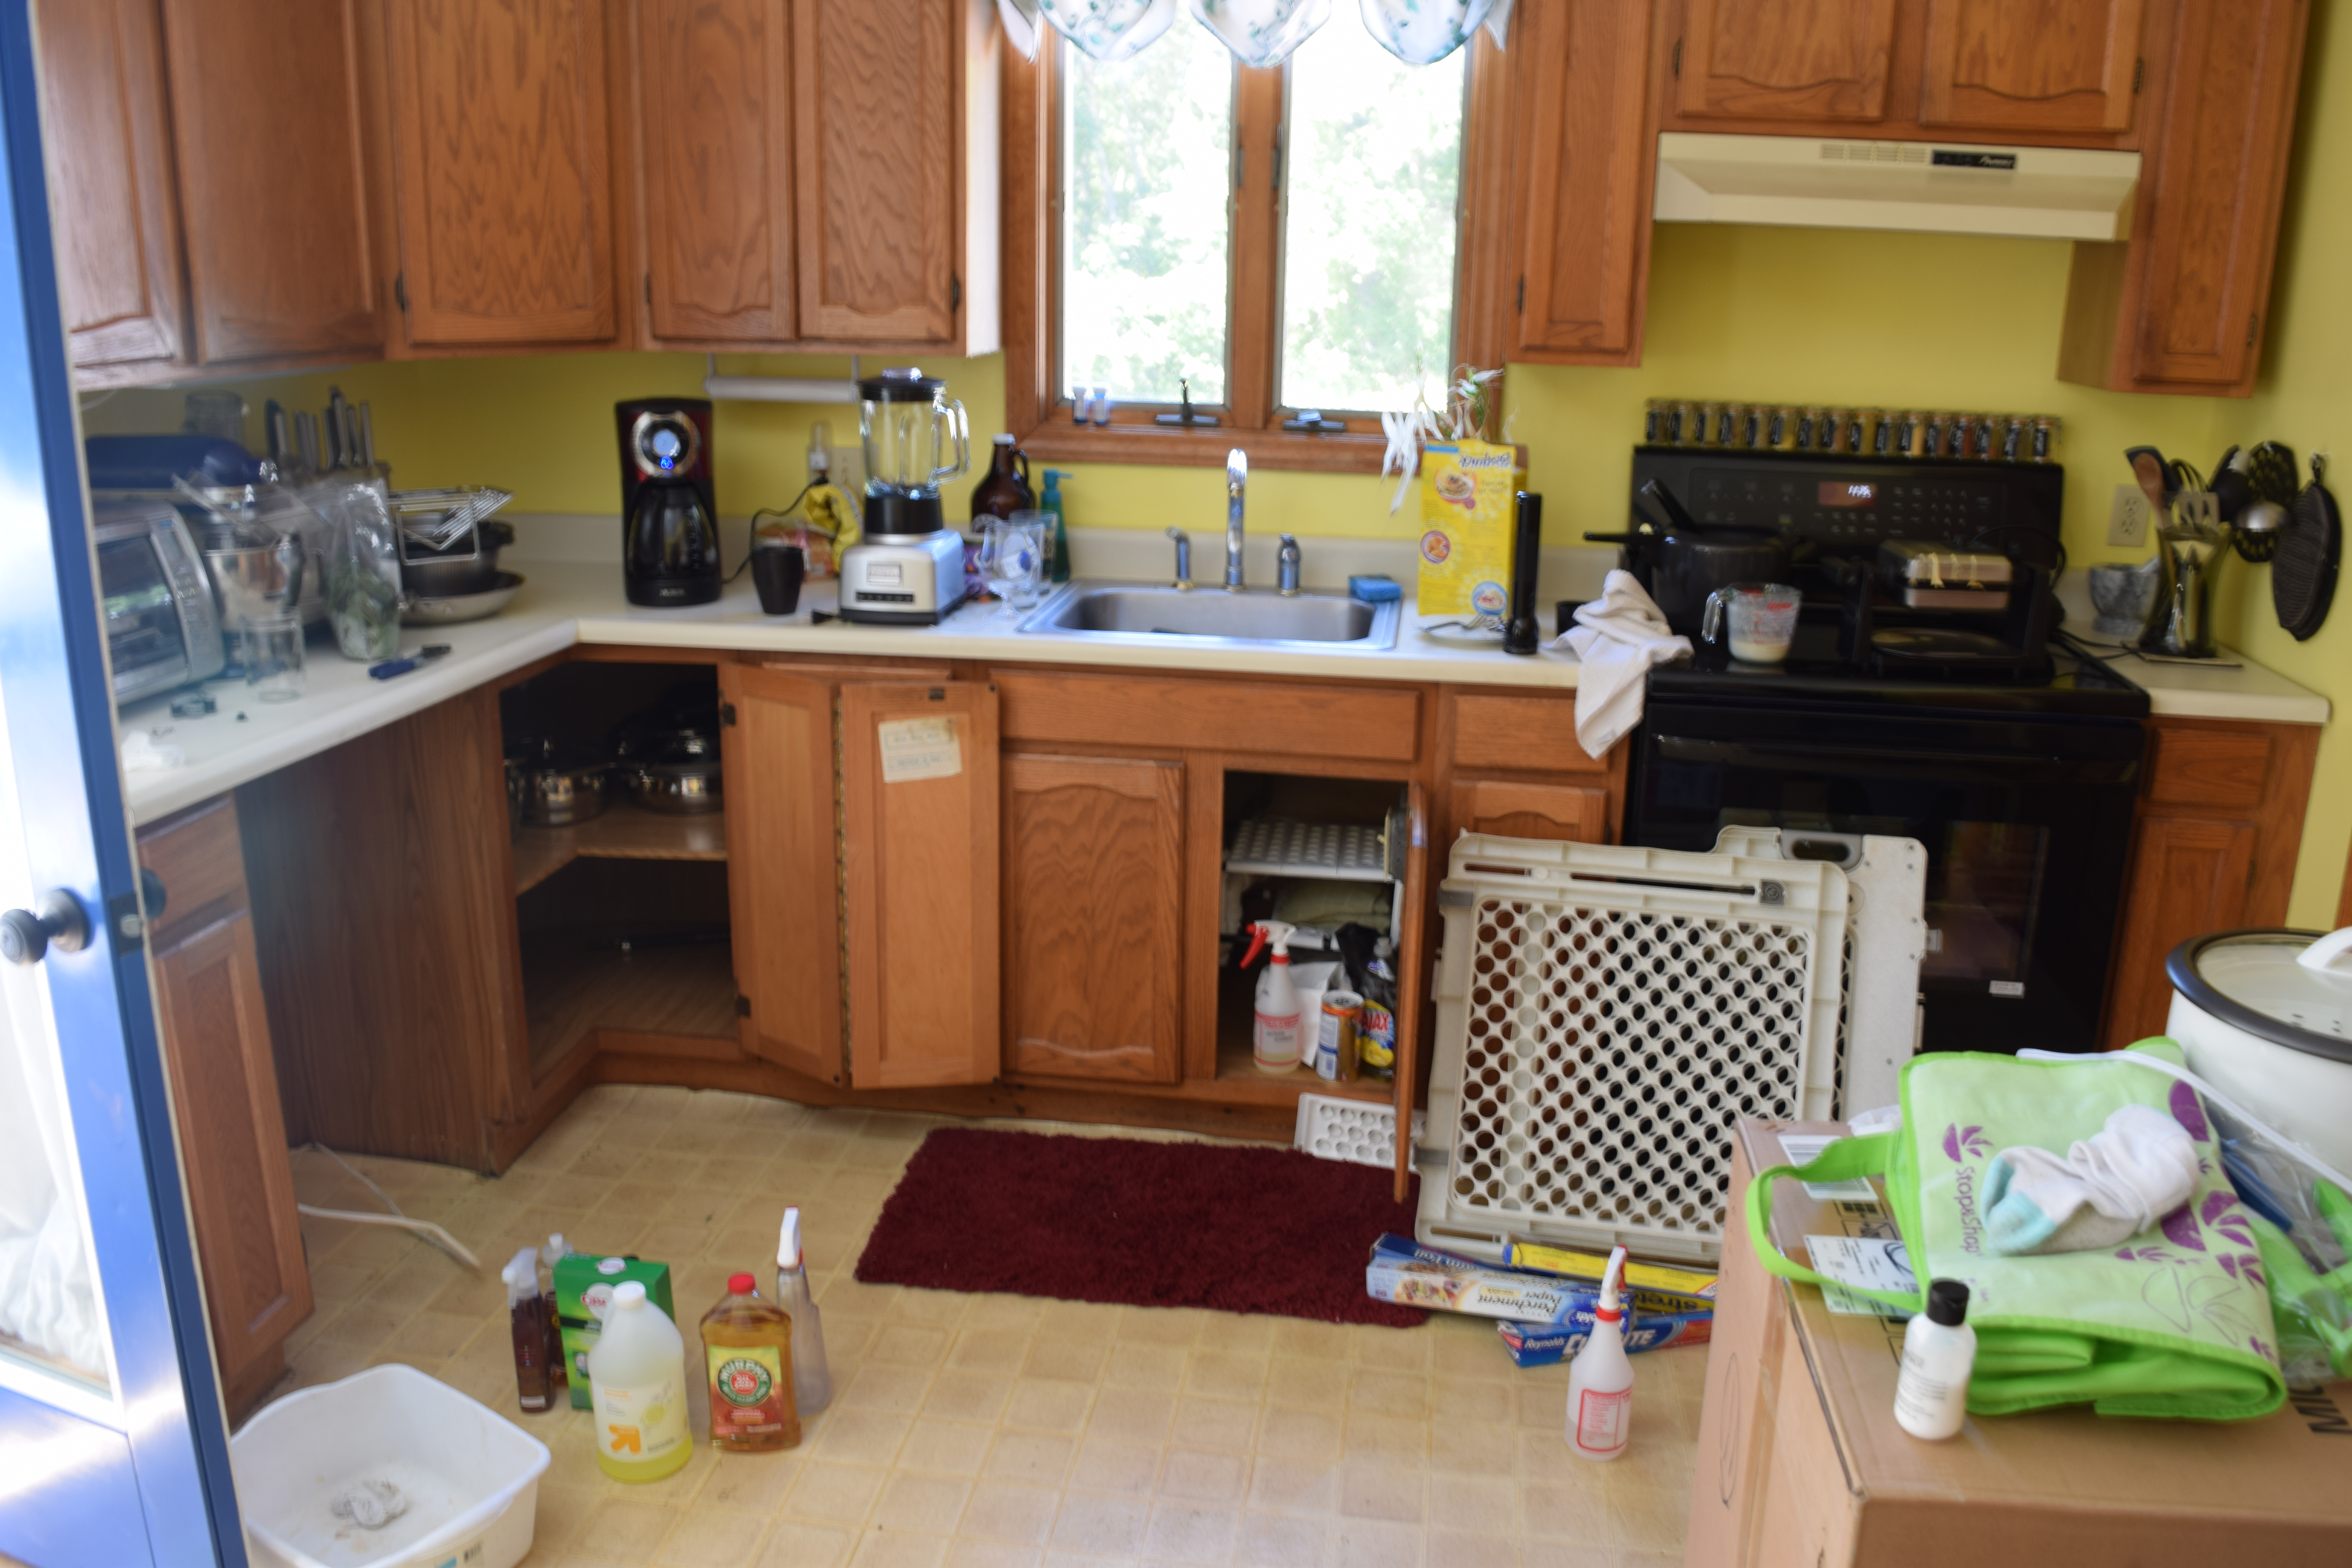
For reference, here’s where we started:
And here’s where we are today:
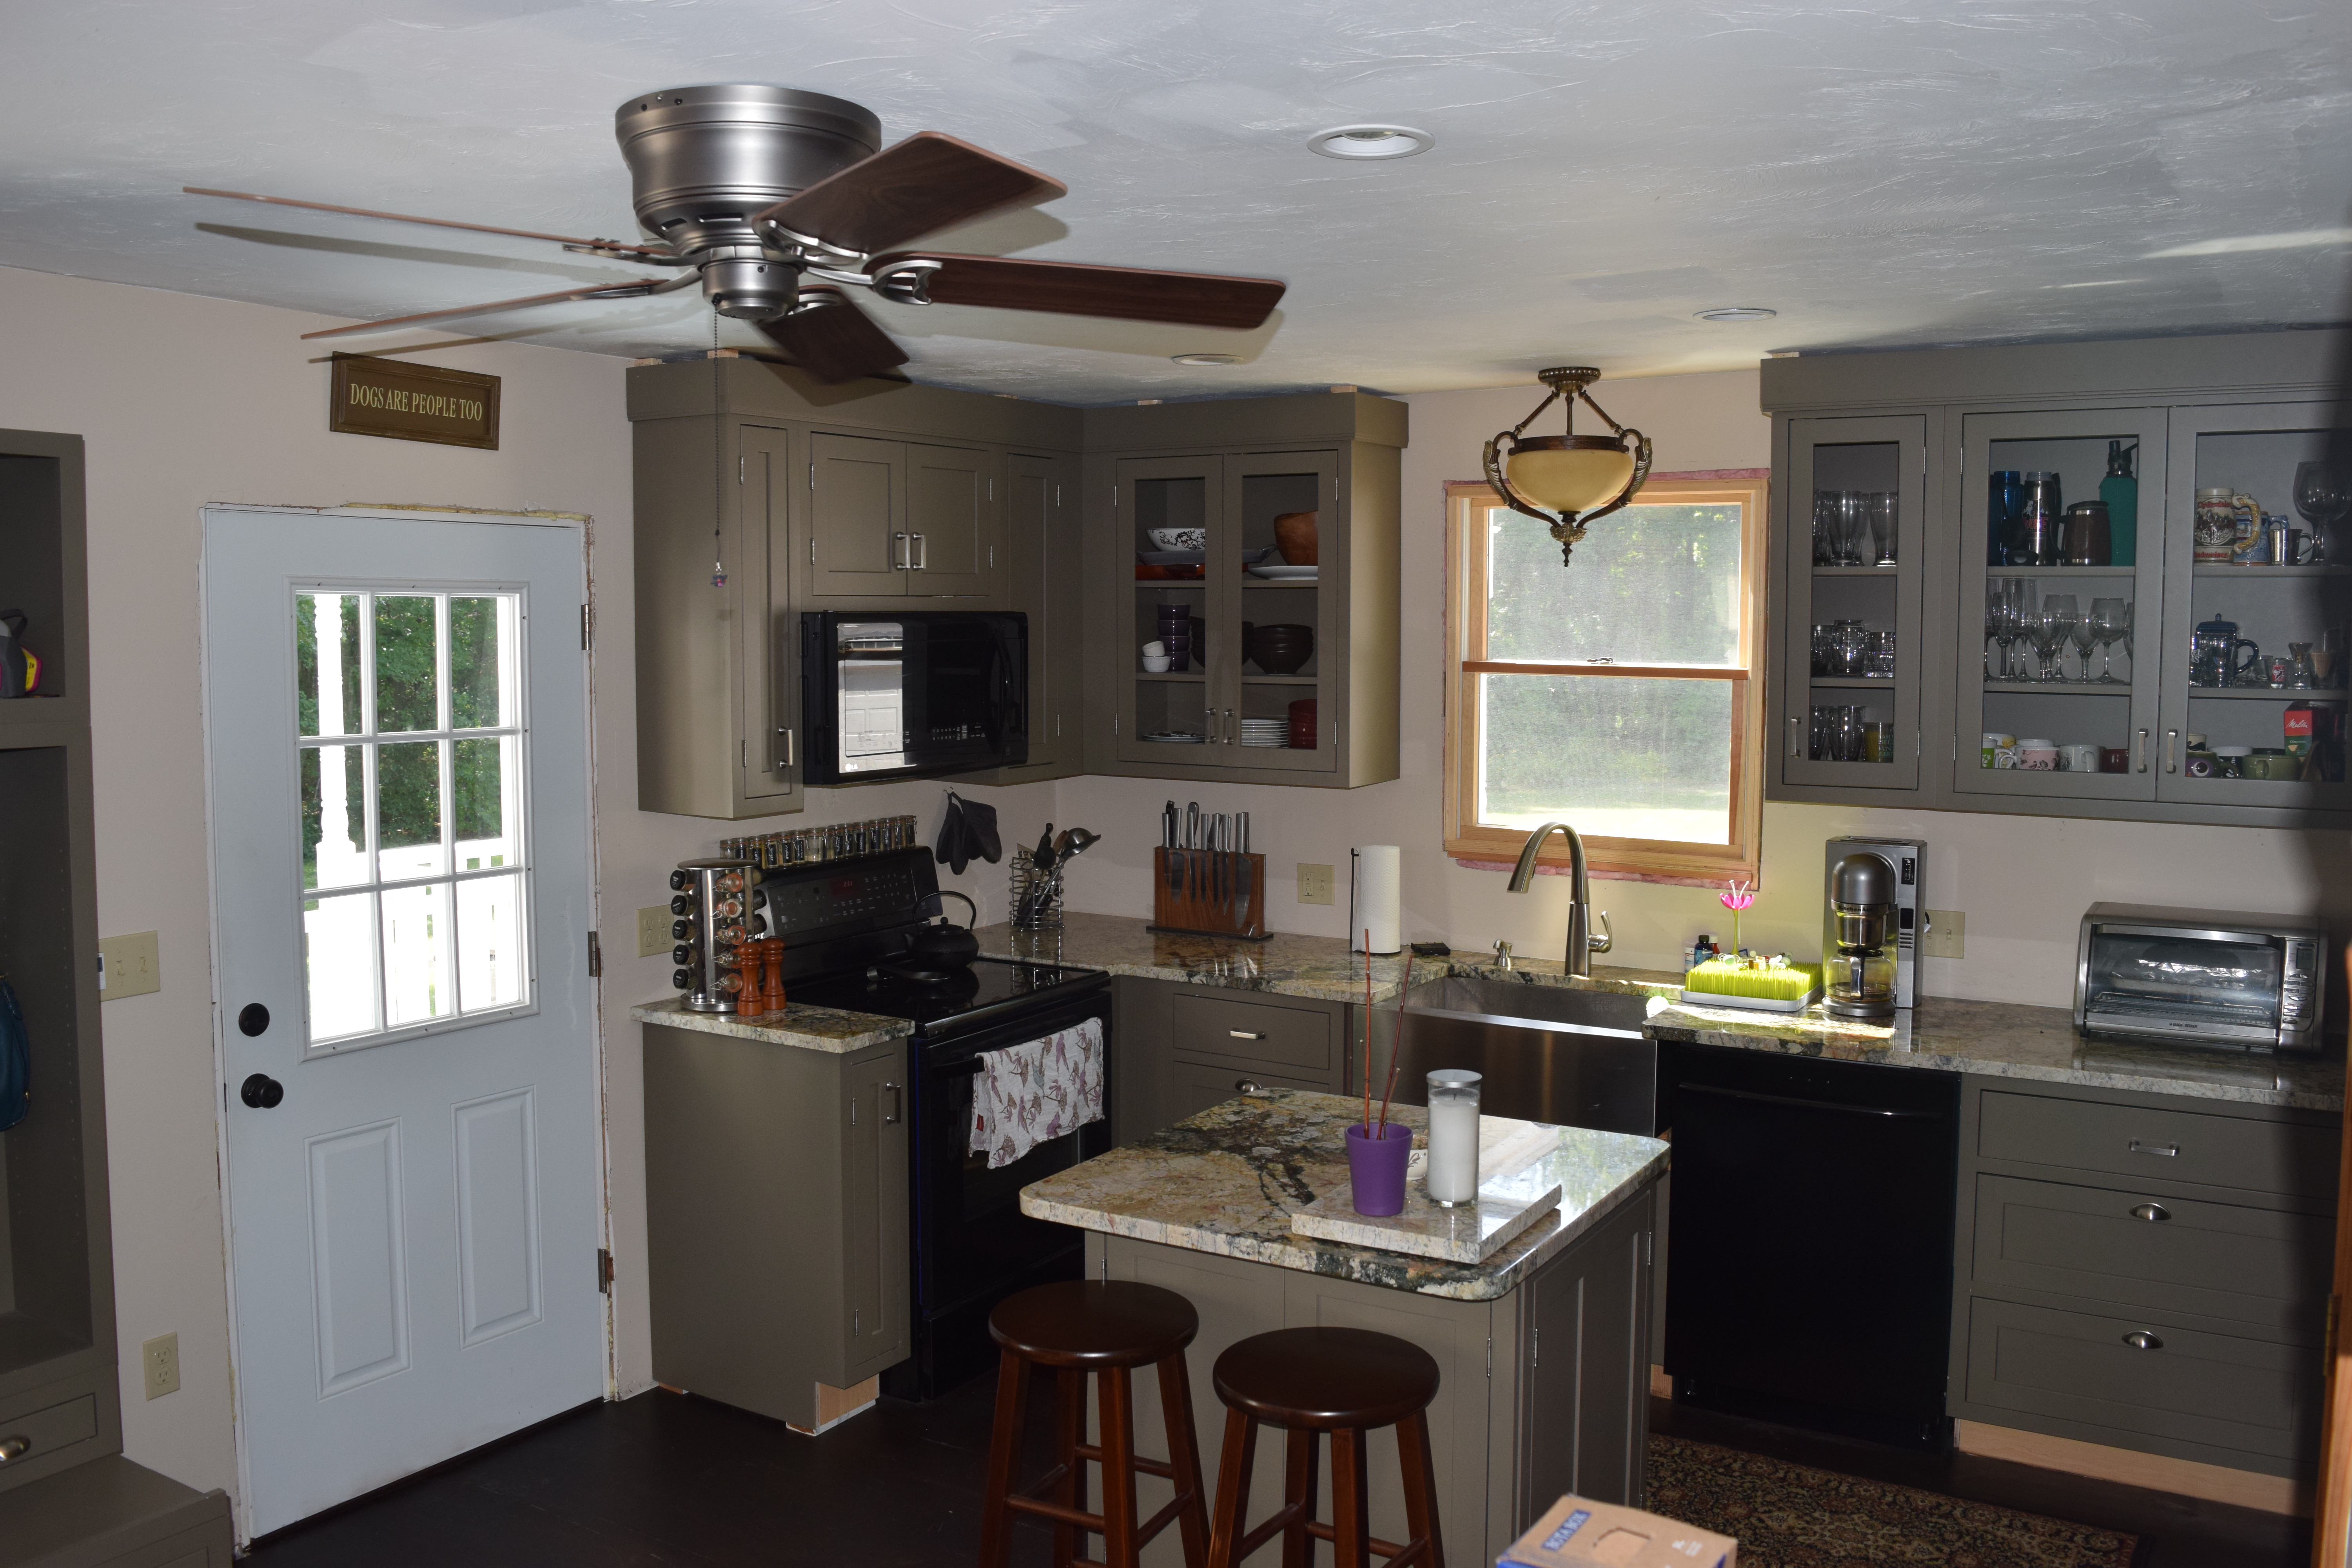
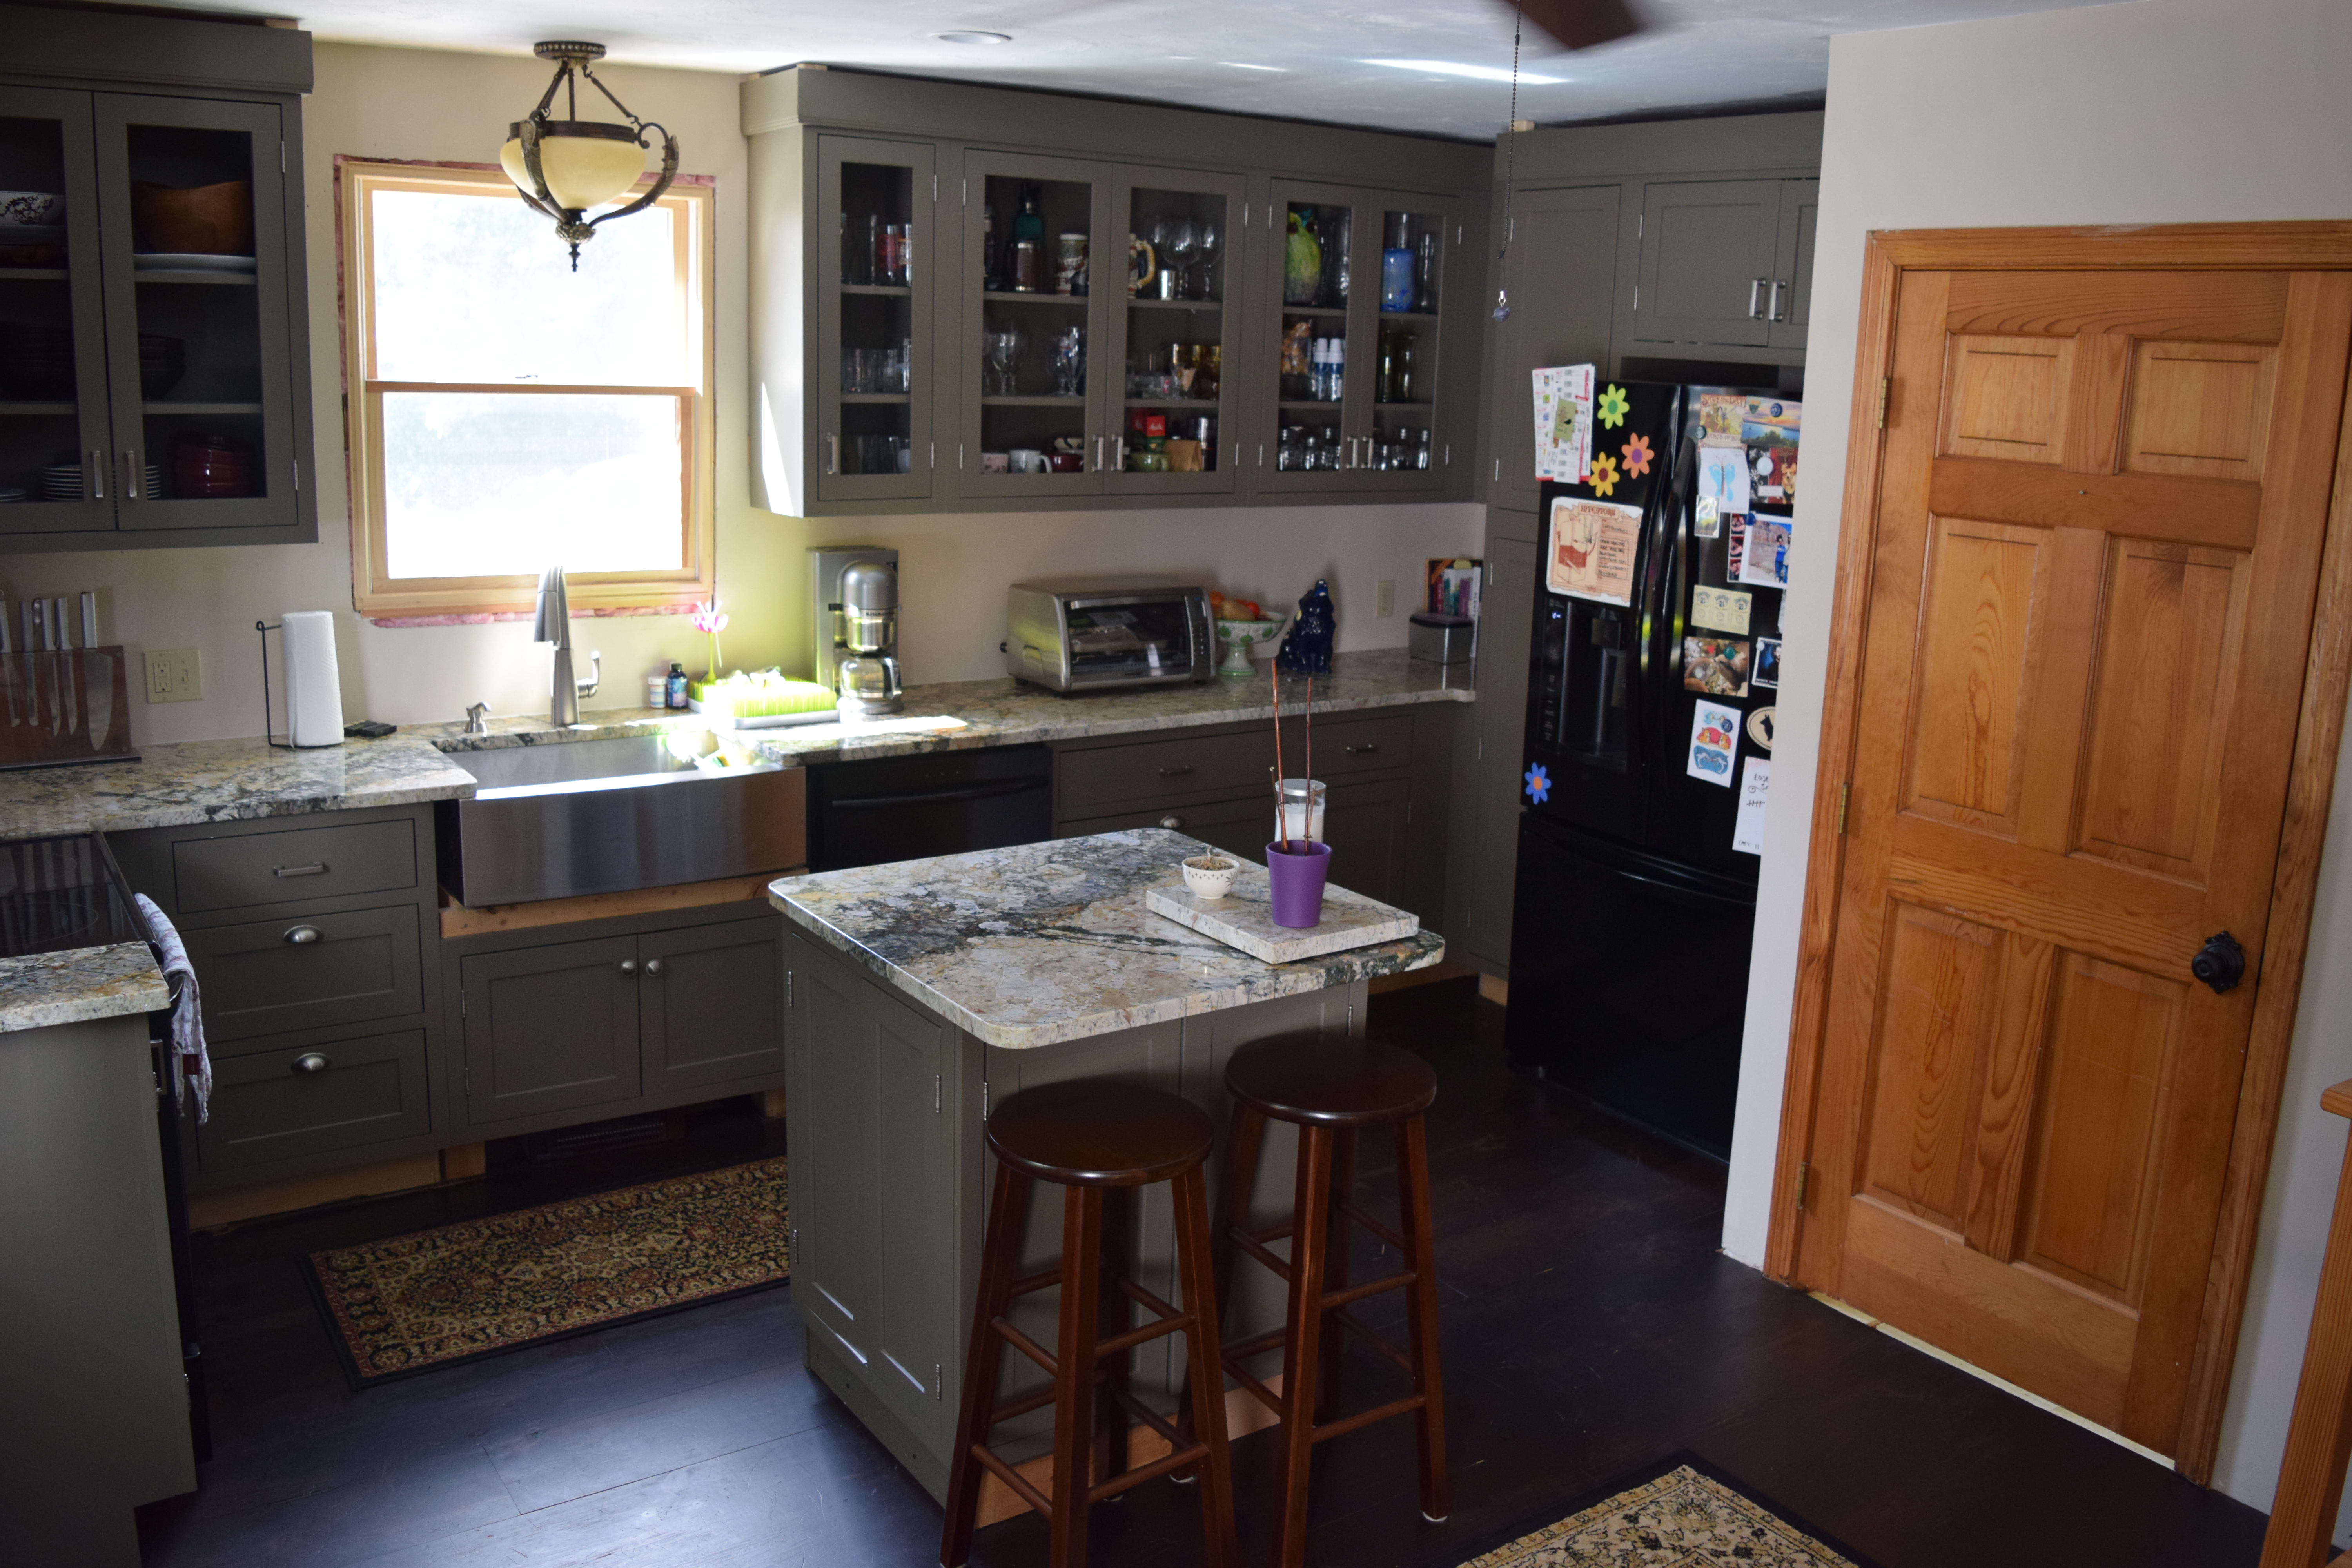
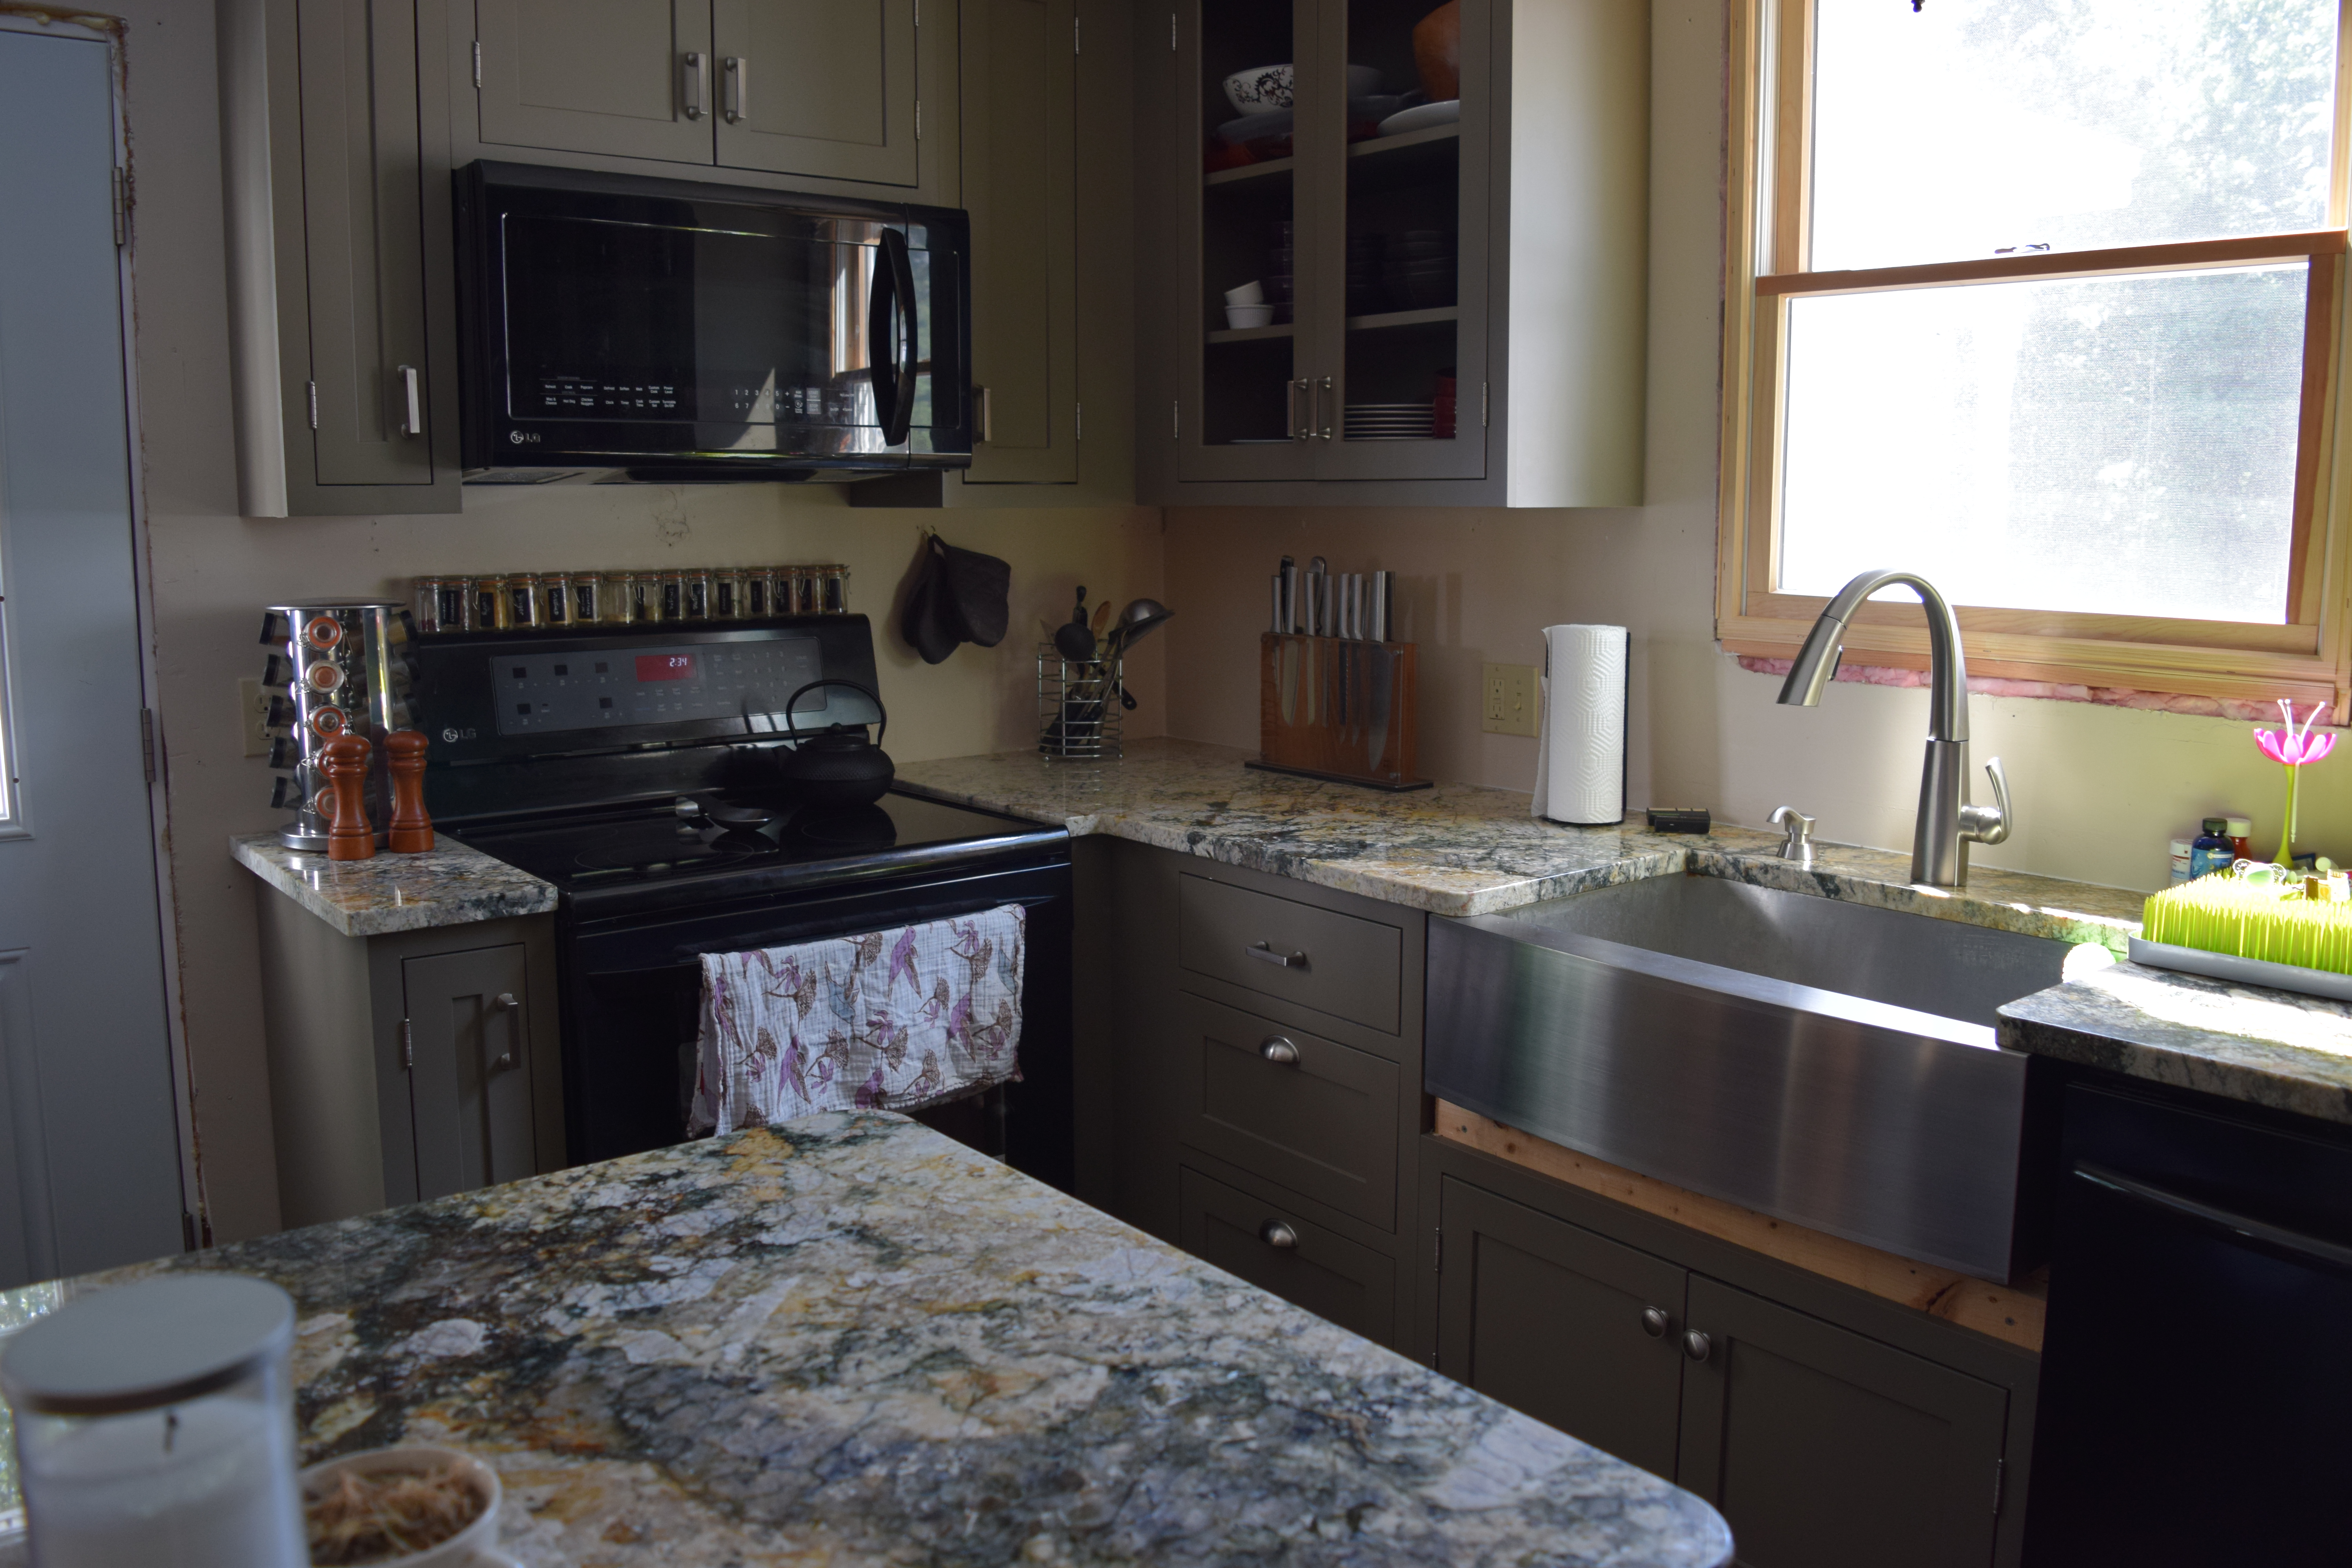
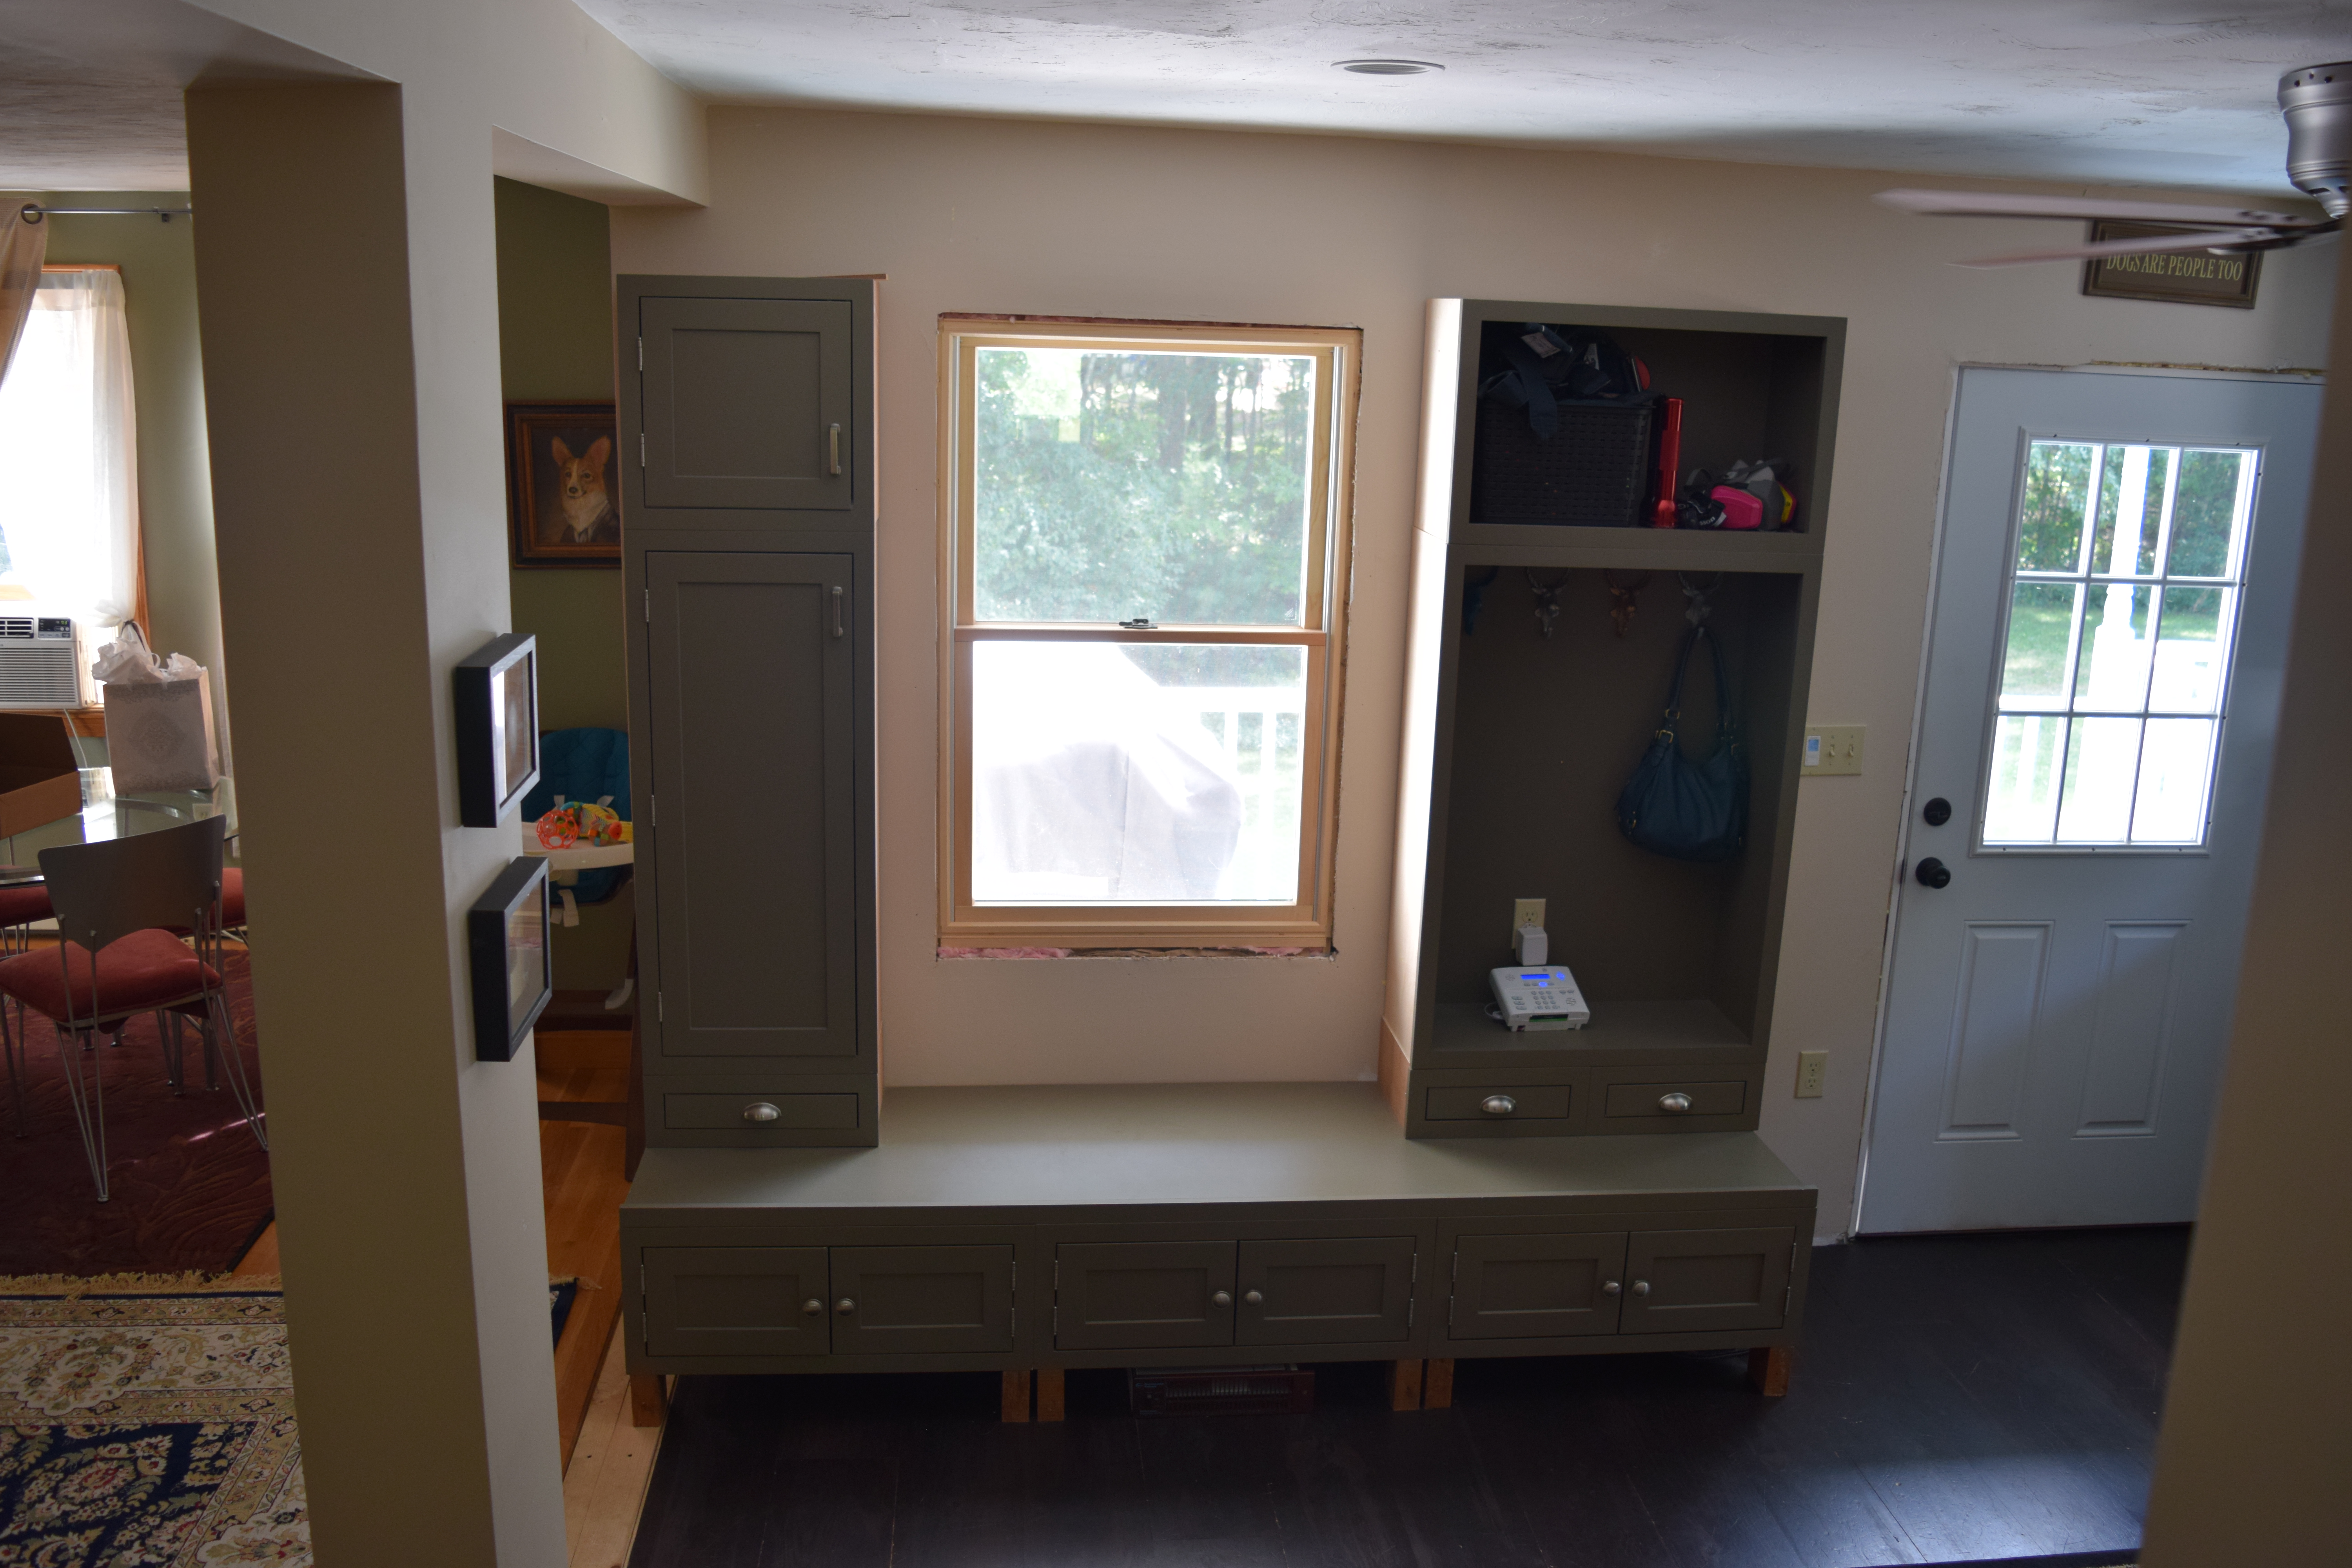
In two months we managed to completely demo and make sound the original kitchen, update plumbing and electrical (this time around with hired professionals), install and finish a historically accurate softwood floor, replace two windows and a door, install and plaster the new header beam, in addition to getting the cabinets hung and countered. Not too shabby.
Problem is we still have a number of things to do before this one is truly done. Namely:
- Finish all the trim work
- Purchase and install cabinet glass
- Sew a darn cushion
- Refinish and install an old hutch as a built in to replace the liquor cart.
- Flooring finish do-over
The last one might seem strange but after doing the flooring and finish work in a few other rooms now we realize that we made a mistake or two. While we don’t need to rip the whole thing up (phew!) we really do need to sand and refinish it. Not enough of a protective barrier went on and the floors are aging up nicely, but incredibly quickly.
So what do you all think? I think we kept pretty close to the spirit of our inspiration pic. And anyone know a good place to get my cabinet glass? It seems like finding a glazier capable of glass etching is harder then I originally thought.
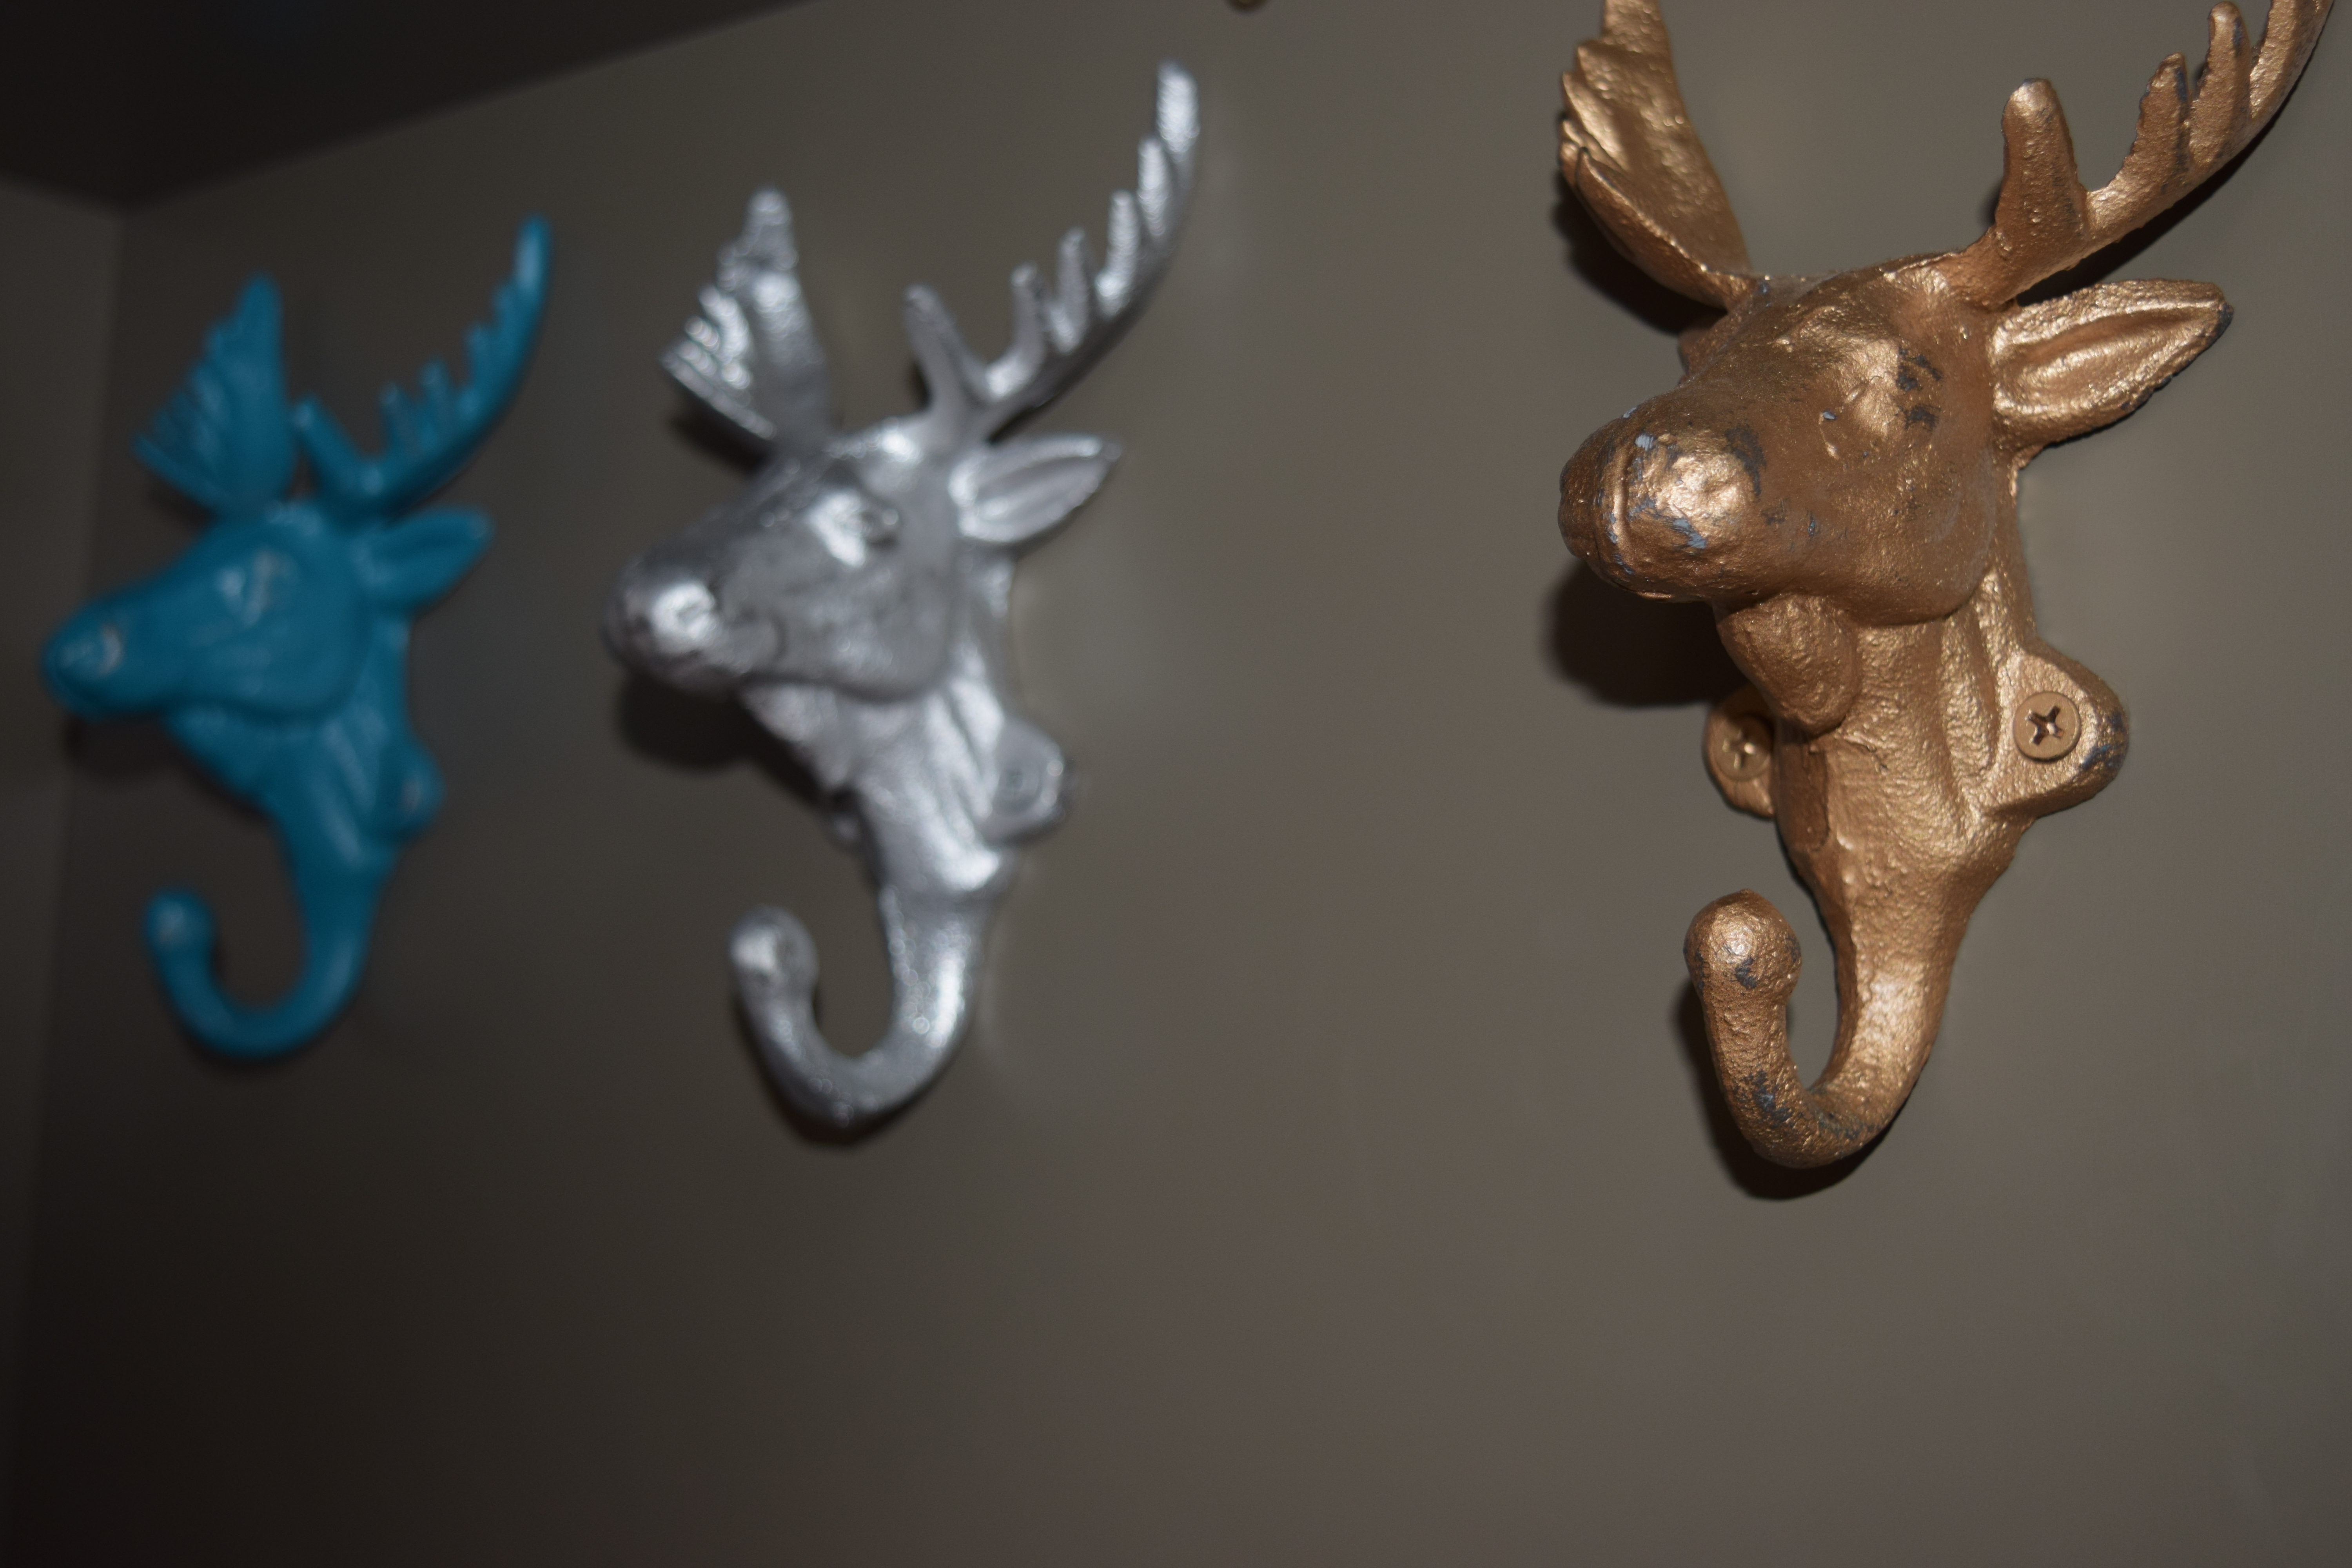
Wow! What a magical transformation!!! Great work guys! Love seeing the before and after photos side by side. And the hooks! So cool! Can’t wait to see the liquor island replacement! 😉
Thanks, Jordan! Can’t wait until you see it in person!